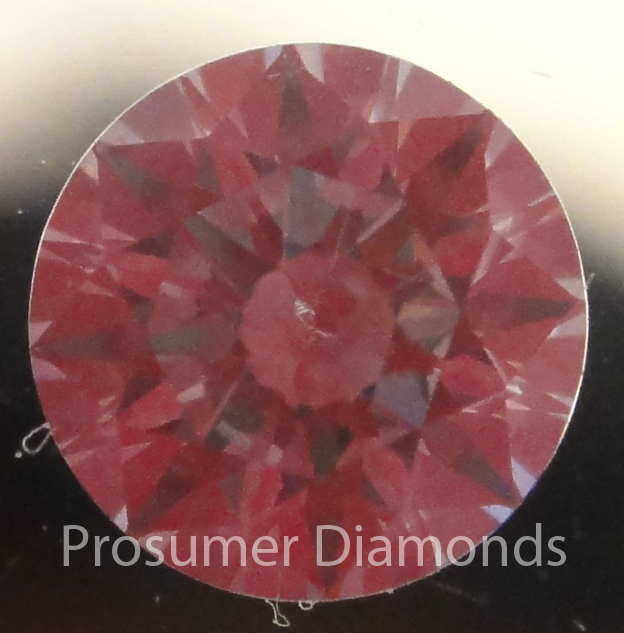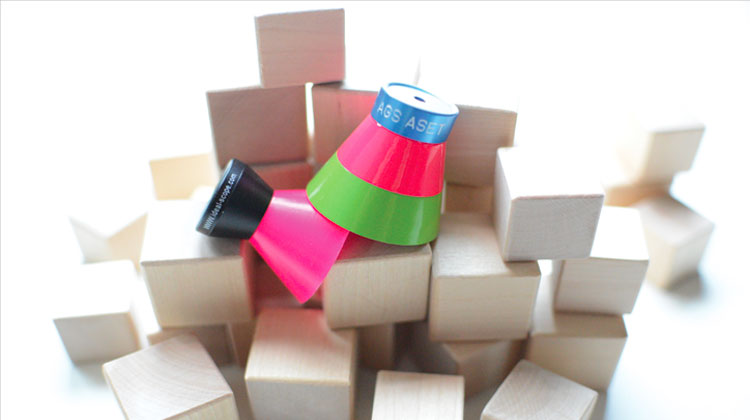
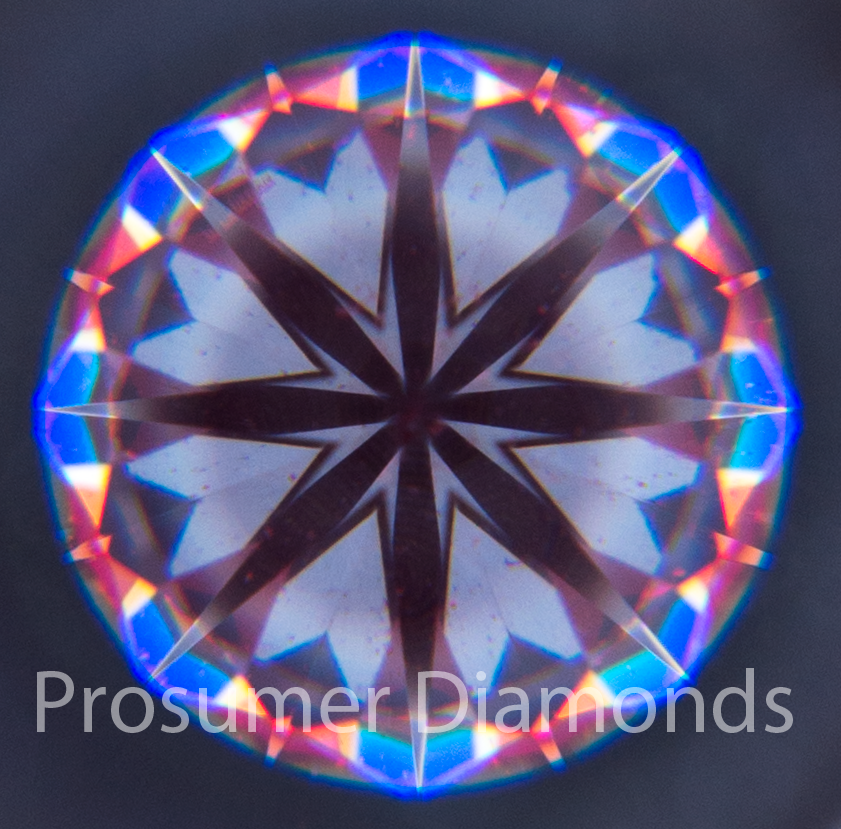
In the previous tutorial, we looked at how to take pictures of diamonds whether it was for aesthetics or for online assessment. I concluded that it was very difficult to take a picture that is good enough for the purpose of forming a valid assessment of a diamond’s light performance and optical symmetry. In today’s tutorial, I am going to look at how difficult it is to take light performance images namely idealscope, ASET, and hearts images.
Back in level 1, I introduced the idealscope and the ASET as tools to evaluate diamonds. I also mentioned that although these tools can be used to evaluate a diamond in detail, they should generally only be used for rejection purposes. Today, by conducting a series of test images, I’m going to determine what are the methods that are needed to produce a high quality image and whether the images that I produce are good enough to form a valid opinion on light performance.
Why do all light performance images look so different?
If you do enough research, you will quickly realise that every vendor produces different looking light performance images. This is mainly because each vendor uses a different camera setup with different lighting etc. However, during post-processing, the vendors will also treat the images differently so don’t expect them to all reproduce the exact same looking image even with the same stone.
One of the biggest problems of using light performance images as a standard for evaluating diamonds online is the difficulty of getting these consistent and comparable images. Vendors have enough trouble getting consistent imagery of their own inventory let alone try to meet a universal standard. For example, I recently discussed the problem some vendors have in photography when dealing with many diamonds of different shapes and sizes here.
Another problem is that the vast majority of consumers will not have even heard of the idealscope or ASET let alone know how to interpret it. Many also only have a surface understanding of what to expect and that actually encourages vendors to produce images that are not the highest quality.
The truth is that often, a high quality image is not an image that makes the diamond more sellable. I have encountered many images that are taken to make the diamond appear to be a better diamond or hide its flaws.
For example, the saturation levels of the reds can be changed in an idealscope image and the brightness and contrast levels can be changed in a hearts image to hide the effects of twist and distortion. Sometimes this is legitimately done to make the image clearer because the image displays camera-tilt that causes the illusion of twist and distortion when there is none.
The most extreme cases that I have seen are actually vendors trying to pass on a computer generated image as an actual image of the diamond. Much worse if that computer simulation is based on only the data from 8 facets rather than one generated based on a full scan of the 57 facets of the diamond. It is also important that you look to see that the image of the diamond that you see is of an actual image of the diamond and not a sample image!
General Instructions for taking Idealscope and ASET Images
Method 1: Using the Ideal-light
The inventor of the idealscope, Garry Holloway, describes two methods in his tutorial for photographing loose diamonds, and the first method uses the ideal-light. Garry recommends using a compact digital camera to produce the best results. Of small digital cameras, it is suggested that best ones to use are the ones that have smaller lenses that can fit into the viewer of the idealscope itself.
The picture of the camera used on their site appears to be a Cannon Digital IXUS 50 with a 1/2.5” (5.744 x 4.308mm) sensor. Unfortunately the compact camera I have does not have a retractable zoom lens, but it is a small lens nonetheless. Small lenses imply small camera sensor size and most of these small lenses will be fitted on cameras with sensors that are 1/2.3” (6.17 x 4.55mm). I will be testing the image quality that we can get using my Sony DSC-TX9, equipped with a 1/2.3” sensor that I think will be comparable to the slightly larger sensored IXUS 50.
When using the ideal-light method it important to note the white balance setting in your camera. Gary recommends using the ‘tungsten’ (incandescent) setting, which is meant for producing a normal looking image under tungsten/incandescent light bulbs. Note also that there are two versions of the idealscope and if you want to take idealscope images for assessment purposes, it is recommended to use the expert version, which is more expensive but has a much better lens that provides higher magnification and a sharper image. Gary also mentions that you will always want to use fresh batteries to ensure the color temperature of the ideal-light is correct.
Method 2: Upside-down method
The second method is an upside-down method placing the camera on a flat surface and attaching the idealscope to the front of the lens. The diamond rests table down on top of a transparent material that is placed over the bottom of the idealscope, which is also upside-down. This method requires some trial and error because you won’t be able to see where you are focusing.
The Test
Unfortunately, because I don’t have any loose diamonds just lying around, I will be using my Signity Star CZ that came with my ideal-light. The images of the CZ will have a slightly different pattern to a diamond of course, but it should not affect my ability to observe the image quality that can be taken via the different methods.
Upside-down Method Using the Ideal-light
I’ve taken many pictures using the ideal-light method so I decided to try the upside down method first to see whether it would produce good results. Here is the best result after several failed attempts.
Please excuse the fact that I didn’t clean the CZ very well so there is a bit of fabric from the cloth visible in the picture. Also, you can see that there is a large feather inclusion on one pavilion facet that actually looks like a fish. It’s right on the culet too so it actually becomes useful for identification as well as for focus!
Although I wouldn’t say that the result is horrible, there are actually many problems with this method that makes me not want to recommend it to anyone. First of all, because you can’t see the screen, it felt like I was always hoping for the best when taking the shot.
This isn’t the biggest problem though, as it was not difficult to get the diamond centered. I can actually see this method working better for cameras with the retractable zoom because the idealscope can be fitted better onto the lens of the camera. However, for my particular camera, it was actually rather difficult to get the idealscope to sit flat over the lens.
The biggest problem was actually the backlighting and trying to get the ideal-light to work with this method did not produce good results. Suffice to say that in my opinion that it was not worth the trouble trying to get good results using this method and I didn’t feel the need to try it out with the ASET to confirm this conclusion.
Upside-down Method Using the iPad
I wanted to compare the image quality using the upside down method above with that of the front-camera on the iPad. These are pictures of my fiancé’s diamond. As you can see from the images below, although it becomes very easy to center the diamond when you can see the screen and the diamond is perfectly level with the camera, the image quality is simply too poor in order to make this a useful method.
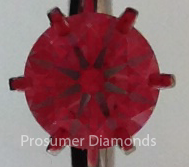
In my opinion, it is still a very quick and easy way to at least demonstrate the idealscope as a rejection tool. The picture below is of one of my mother’s old rings that I took for her using this method with the iPhone. You can see how for rejection purposes, this method is sufficient for identifying stones with significant under the table leakage.
I actually had better results with the front facing camera of the iPad so you can try this if you simply want a nice quick picture.
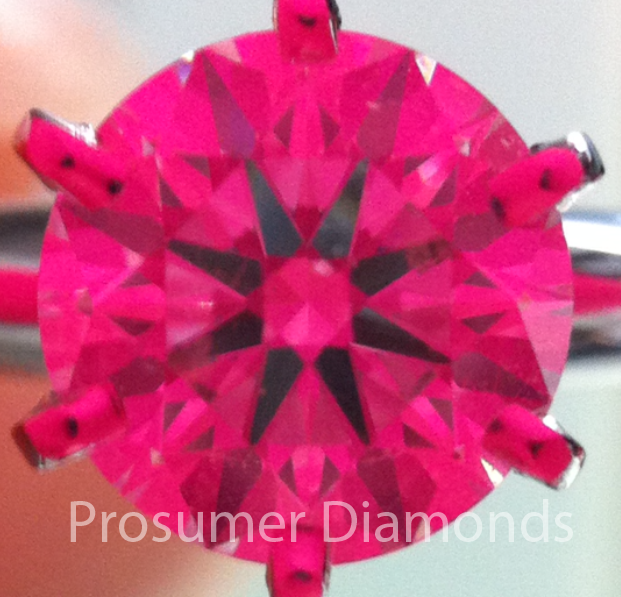
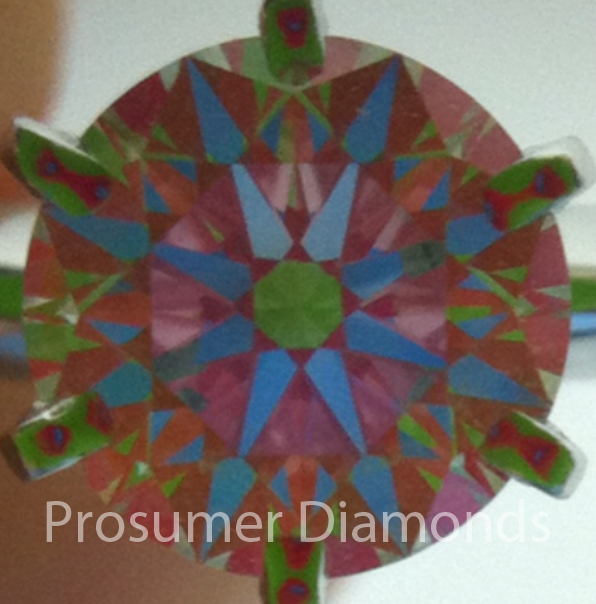
Idealscope Images Using Ideal-light Normally
Now I will see which methods can actually produce the best light performance images. I will be using the ideal-light method and compare the results using the Sony DSC-TX9 and the Nikon D600 to see if a compact camera can really produce better results. Remember that these are the idealscope, ASET, and hearts images of a CZ so I just want you to focus on the image quality rather than the pattern or tilt that can be seen in the image. Please also note that I have used the expert version of the idealscope, the handheld AGS version of the ASET, and a standard hearts and arrows viewer.
In all of the following pictures, the first image will be from the TX9 and the second image will be from the D600.
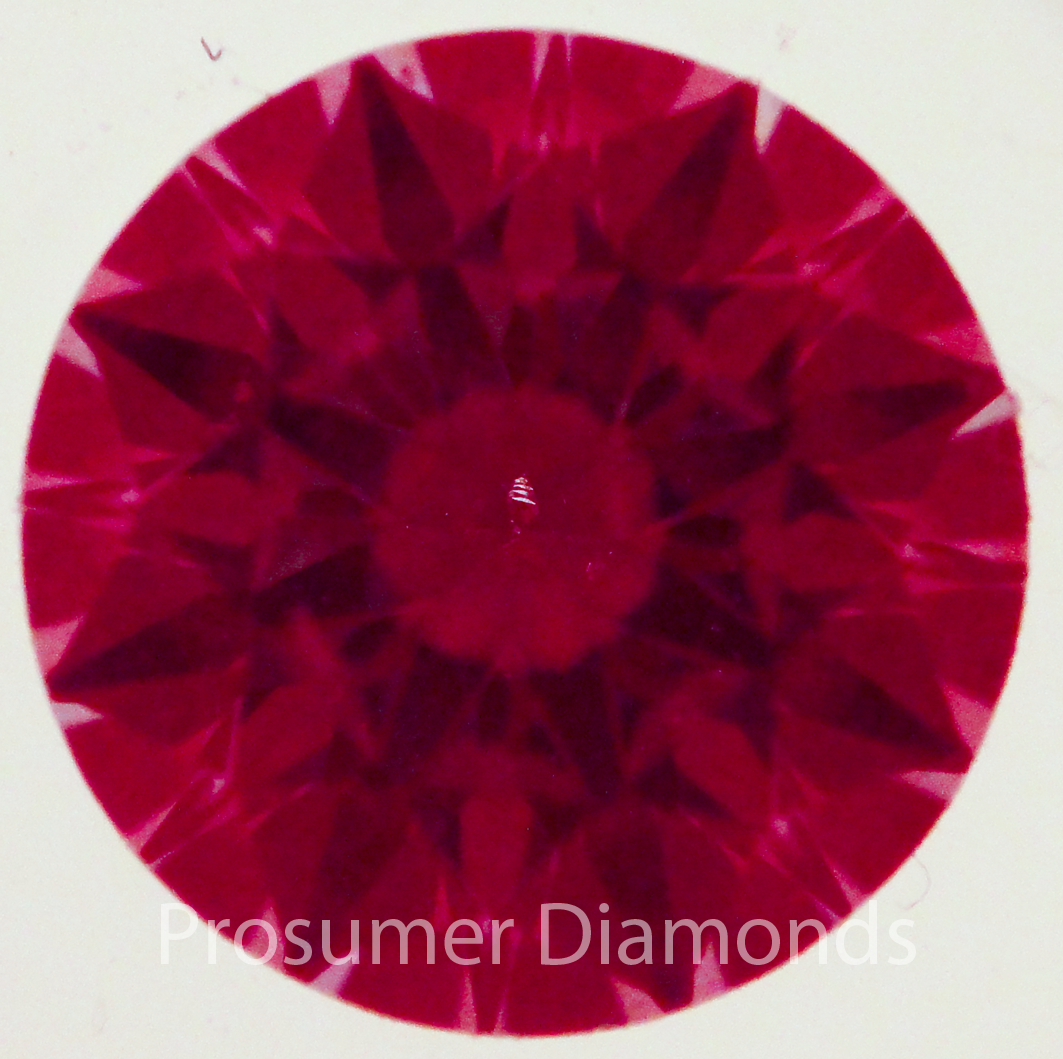
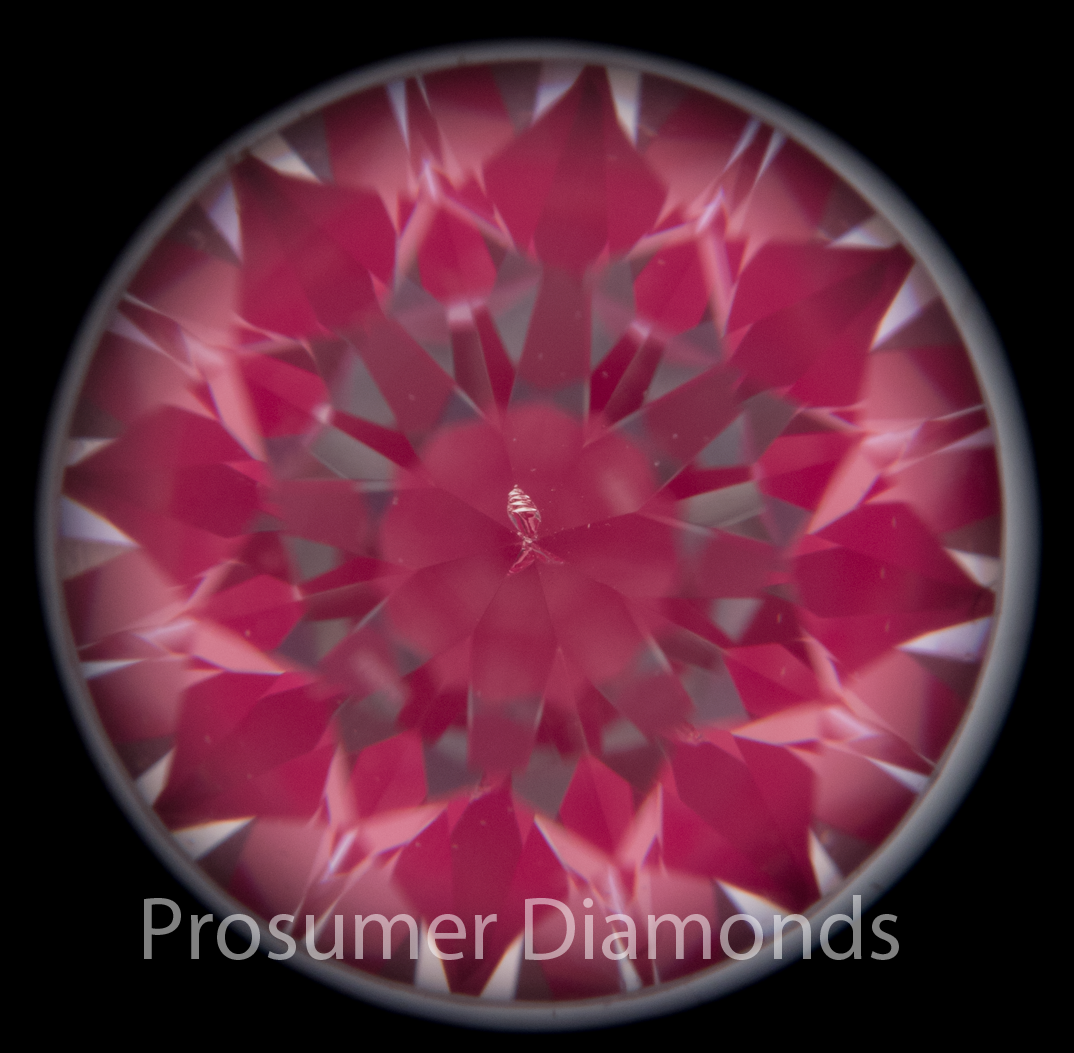
I can tell you that using a full-frame DSLR produces the most realistic image that can be seen when compared to my own eyes. The reason why one image has a white background and the other black is because the lens of the TX9 can actually look past the black viewing scope on the idealscope.
You may be wondering why the arrows are not black, like the ones you typically see from vendors. The reason for this is because when using the ideal-light method, the backlight actually reflects off the larger lens of the full-frame DSLR back onto the diamond so that the arrows do not appear black where we expect there to be head obstruction. You can see that this doesn’t affect the images taken by the compact camera as much because the lens is smaller so that the arrows are actually reflecting more of the black that surrounds the lens on that camera.
ASET Images Using Ideal-light Normally
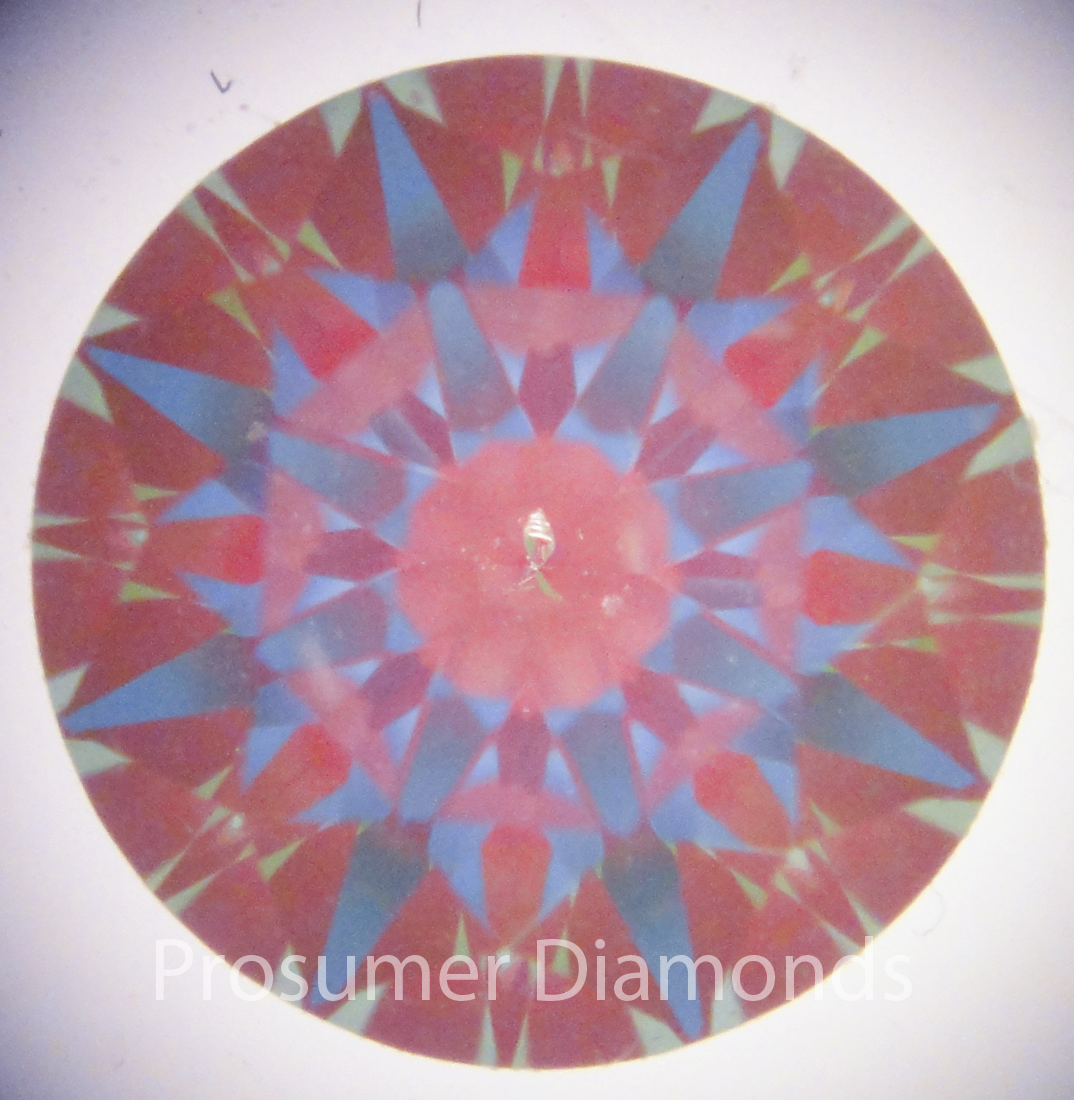
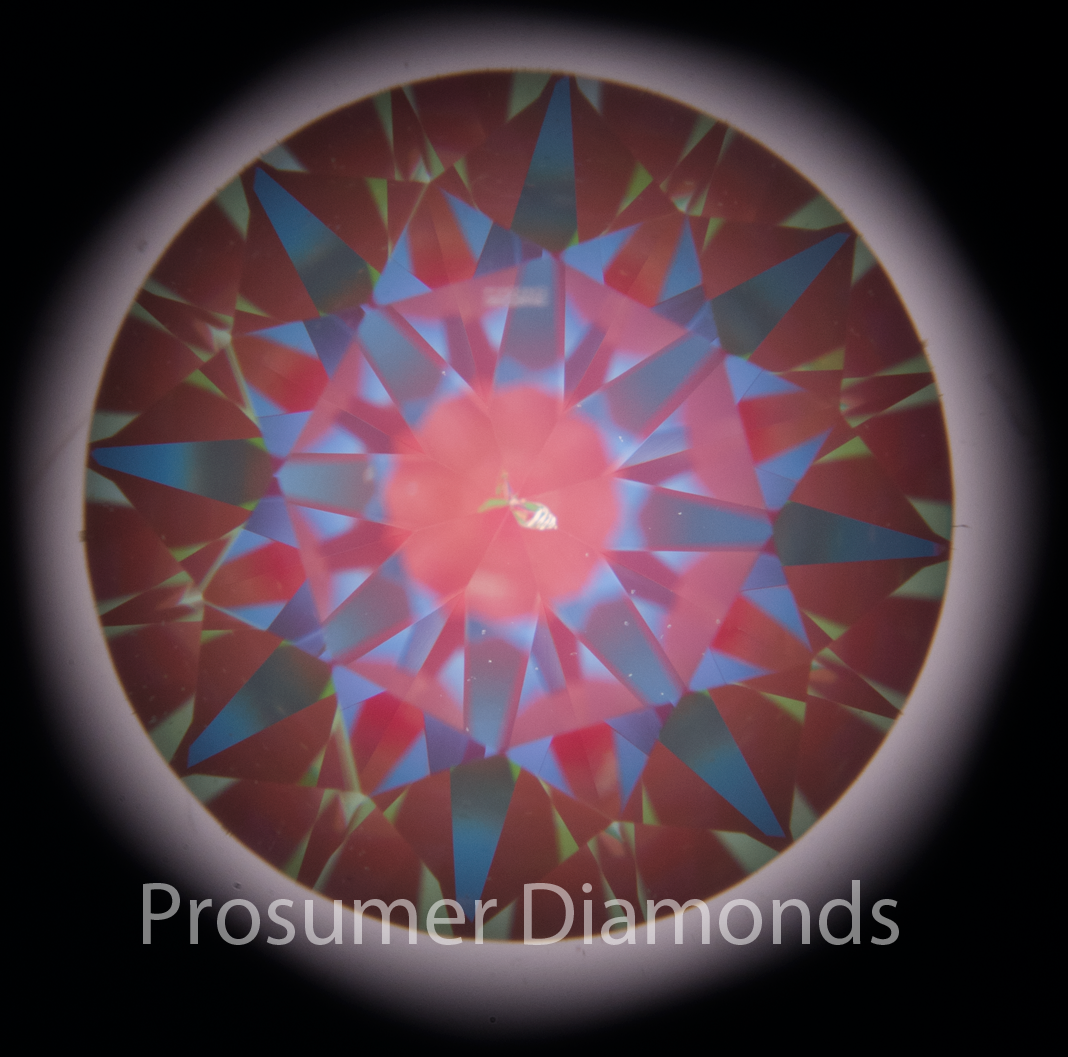
The D600 clearly produces the better picture but I would say that for an ASET, both images are of sufficient quality to form an opinion about the stone if the images were properly centered.
Hearts Images Using LED Ring Flash
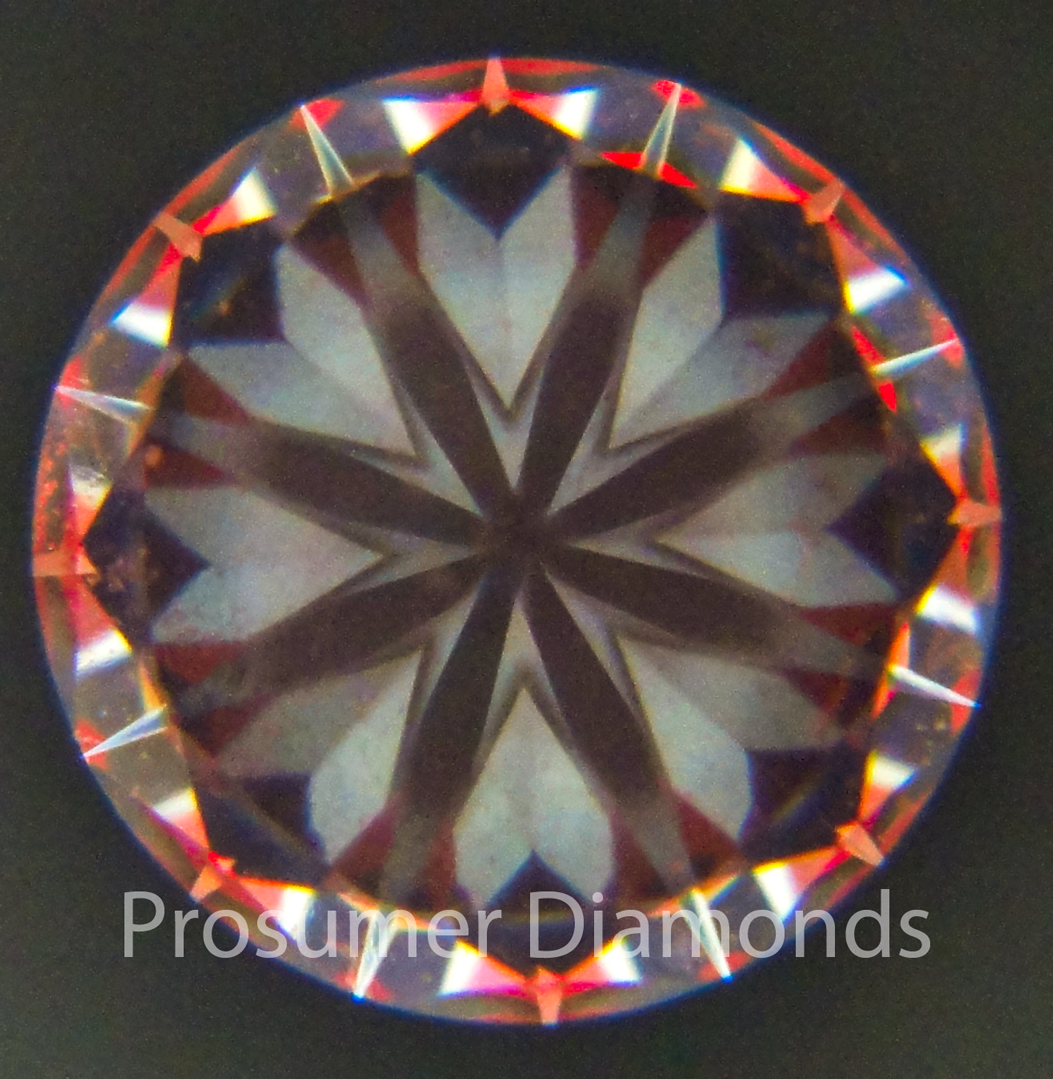
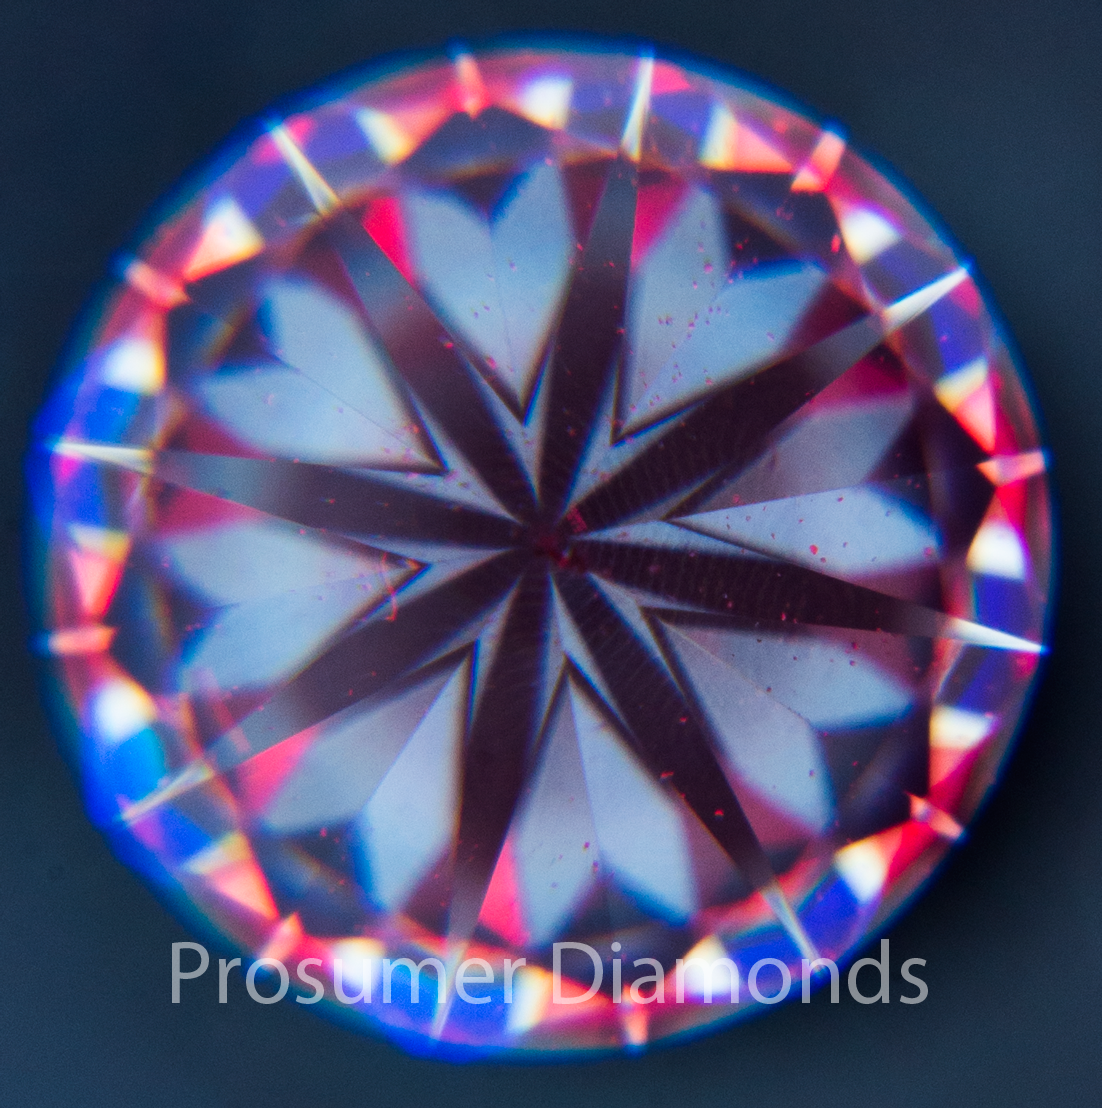
You may have noticed that all the images taken with the compact camera appears to be more ‘flat’. The reason for this is all because of depth of field. A smaller sensor produces an image with a much bigger depth of field for the same focal length so that the image will appear flatter, which are the images that we are used to seeing. This effect can be seen clearly in the hearts images.
It certainly looks like the depth of field is better on the image produced by the TX9 and the entire image appears to be in focus. The image on the D600 is certainly sharper where it is focused. Finally, although the color tones are different, in hearts images we are generally only looking at optical symmetry and proportions so the color tones are less important than the actual patterns themselves.
Update: The hearts image taken with the D600 above was shot using my 24-70mm f2.8 lens, and because of the size of the lens, and because I took the picture at a 70mm focal length, coupled with the 2x magnification of the hearts and arrows viewer, the depth of field was too shallow. Shooting at 24mm wasn’t an option because the focal distance had to be too short. I subsequently experimented with my 50mm f1.8, which was still too shallow. Extending the focal distance didn’t work as the magnification became greater so that the stone appeared larger than the lens on the hearts and arrows viewer. I also tried shooting in DX mode, which produced images that were flatter but sacrificed too much on image quality.
So what works?
Well, if I owned a FX 35mm lens then that might work, but it might not because these would be relatively long lenses. But because we are relying on the large megapixel resolution of the images and cropping the images, you can actually use a DX 35mm on FX mode. I do own one of these lenses but unfortunately it’s not on me today. But using a 0.8x wide angle converter on my 50mm (effectively making it a 40mm), I was able to take the image below. Once I get my 35mm lens back I will try to see if it can produce even better results.
You can see how this hearts image is a good compromise between sharpness and flatness and represents the kind of quality that I look for in a hearts image in order to properly use it for online assessment of a diamond.
The proper way a professional would take these images would probably be to use a technique called focus stacking, which basically uses photoshop to combine multiple images taken with different focus distances to increase the depth of field of the combined image. I have yet to try this out for myself, but if you have done so with successful results then please let me know about it.
Conclusion
I think these tests have done a good job in demonstrating my point that in order for an image to be of sufficient high quality, it has to be in focus, with correct exposure, centered, and with the correct depth of field that makes the stone appear flat. An understanding of how the photograph was taken is key to the interpretation of that image.
The main conclusion that can be drawn is that although a full-frame camera will generally produce better looking images, it is clear that for idealscope images, a smaller lens does a better job at producing black arrows. The more important point here is that black arrows that many people expect to see is not really what can be see with the eye under the idealscope. This is why I generally do not look at how black the arrows are rather I will use that information as part of my evaluation of the image as a whole.
Of course, the extent of how much my conclusions are applicable to large online retailers will be limited. This is because they will not be using handheld models of the light performance scopes in their photography setups. At least for the ASET, I am aware that there are several models including a presentation and a desktop version. Therefore, it should not be surprising that they will likely have specially made desktop versions of the idealscope as well.
